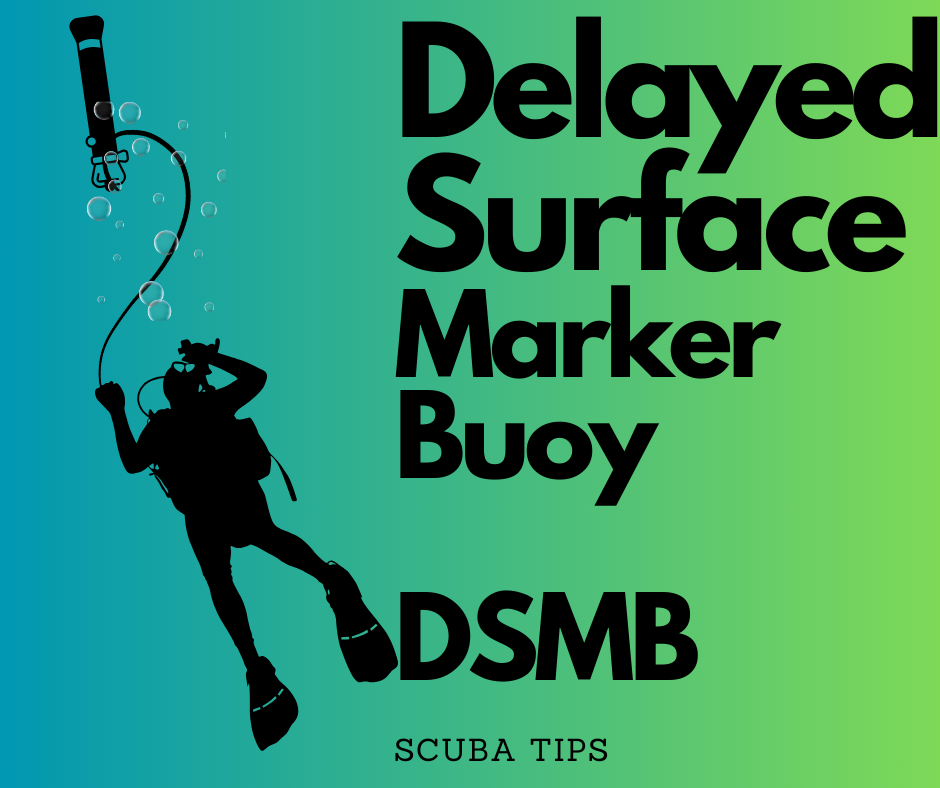
There are quite a few ways to deploy a delayed surface marker buoy. Signaling the surface to mark where you are underwater is important in some situations and a law in others
Today we will talk about deploying it using your primary second stage to inflate your Safety sausage. It can be intimidating at first, especially when your last deployment of the delayed surface marker buoy was in the presence of your instructor. But to those who live in countries that do not require it, I personally feel you need to practice this at least once a year.
PRE DIVE PREP
Yes you need to prep your spool, especially if it is fresh out of the dive shop.
1. Unravel and re spool your rope. It is good practice to prep your reel to prevent snagging. You should also seal the end of your rope so that it won’t fray.
2.Proper reel should have access to all of our side holes on the spool because you will use those as we set up the spool. For some, they take out 25% of the 125 meter rope but if your spool already looks like these, you can just keep it as it is. Also make sure that your rope is 10 meters to 20 meters long.


3. Secure your spool properly so it won’t unravel at the wrong time and attach your spool to your DSMB
I usually hook my DSMB to my BCD but here is also another option
Few reminders: Inflate DSMB a few meters below your deepest safety/ deco stop to allow for contingency for buoyancy problems.
1.Establish Neutral buoyancy -Before any skill you must be neutrally buoyant. It is a good habit that will also help you work on perfecting your buoyancy control.
2.Take out your DSMB– Once neutrally buoyant bring the DSMB out or unclip it from your bcd. Make sure to take out any clips or any obstructions that will snag, that includes your buddy. Re-check your spool for any sign of tangle although you should have prepared it properly before the dive, making sure is still good practice so there won’t be any drag or worse you get dragged up along with it. Don’t forget to check above you.
3.Unravel your DSMB -Remove the velcro and let your DSMB roll out onto your left side so you can easily inflate with your alternate air regulator.
4. Holding your reel – Place your left index finger in the middle of your reel and use your two thumbs to pry open the SMB keep it open with your left thumb while your right hand unhooks your alternate air source or your octopus
5. Add small amount of air – Tilt a bit to the right letting your hoses danglin or not, steer clear of your DSMB. With mouthpiece of your octopus away from the opening of DSMB you can now add a small amount of air. Keep adding in small tiny bursts until your DSMB is slightly standing on its own.
6. Let it rise – When DSMB is floating a bit on its own, you can now make a final check on entanglement possibilities. When it is a clear, place your index finger slightly outside the hole of the spool making sure you have a nice grip along with your thumb. By only doing small bursts, your right hand must also be assisting your left with the rope. So if all is a go, add more than bursts in your DSMB and it will defintitely rise to the surface.
7. Check to see if it is standing. You can estimate by the tautness or tension of the rope. If you feel like it is lose and you vis is pretty awful, wind back the line on the finger spool to be able to apply tension to make the DSMB stand up.
3 Mins SAFETY STOP – can be easy, can be difficult, but always remember to DO IT for pete’s sake.
USE the Line To ascend. Rewounding the rope it as you surface.
Watch our video

